Andersen Sterilizers Installation: Easy as 1, 2, 3
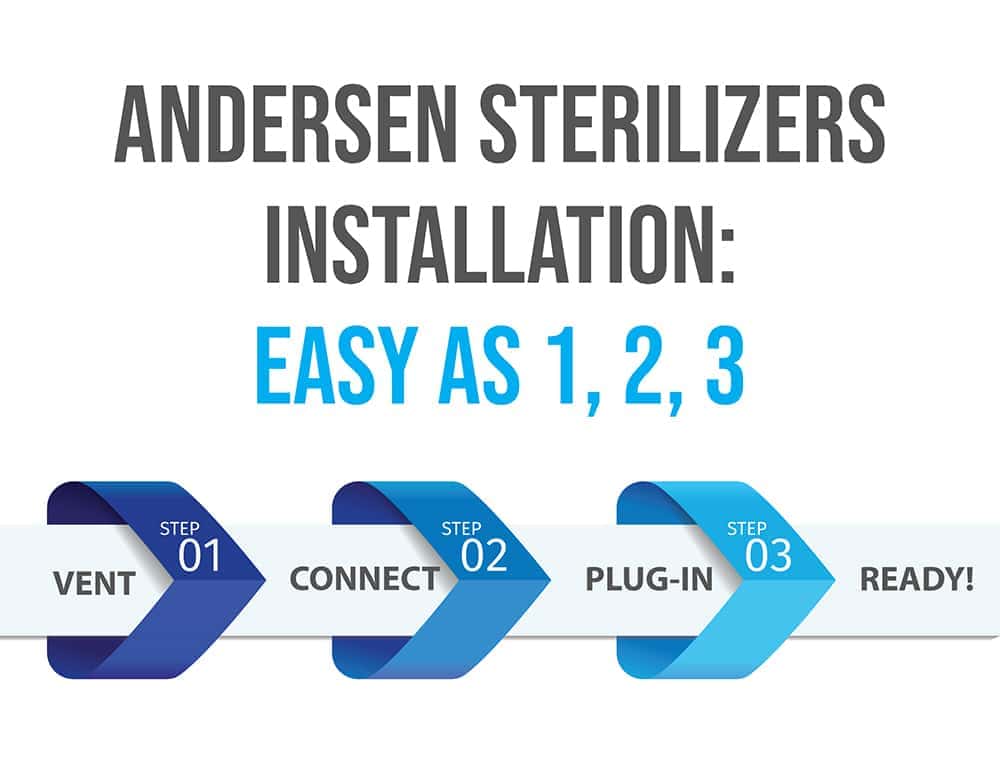

You’re not going to believe how simple Andersen Sterilizer installation is. In fact, it’s the easiest in the industry! As easy as 1, 2, 3.

Vent to the outside.
While there are minor differences between the requirements of our units, the basics are the same. You need a dedicated vent to the outdoors, at least 25′ away from people or animal foot traffic and building air intakes.
There are several options including through the wall, roof or eves. You can even install the sterilizer nearly 200′ away from the vent with the remote location option. Regardless, Andersen makes it easy with our Sterilizer Installation Kit.

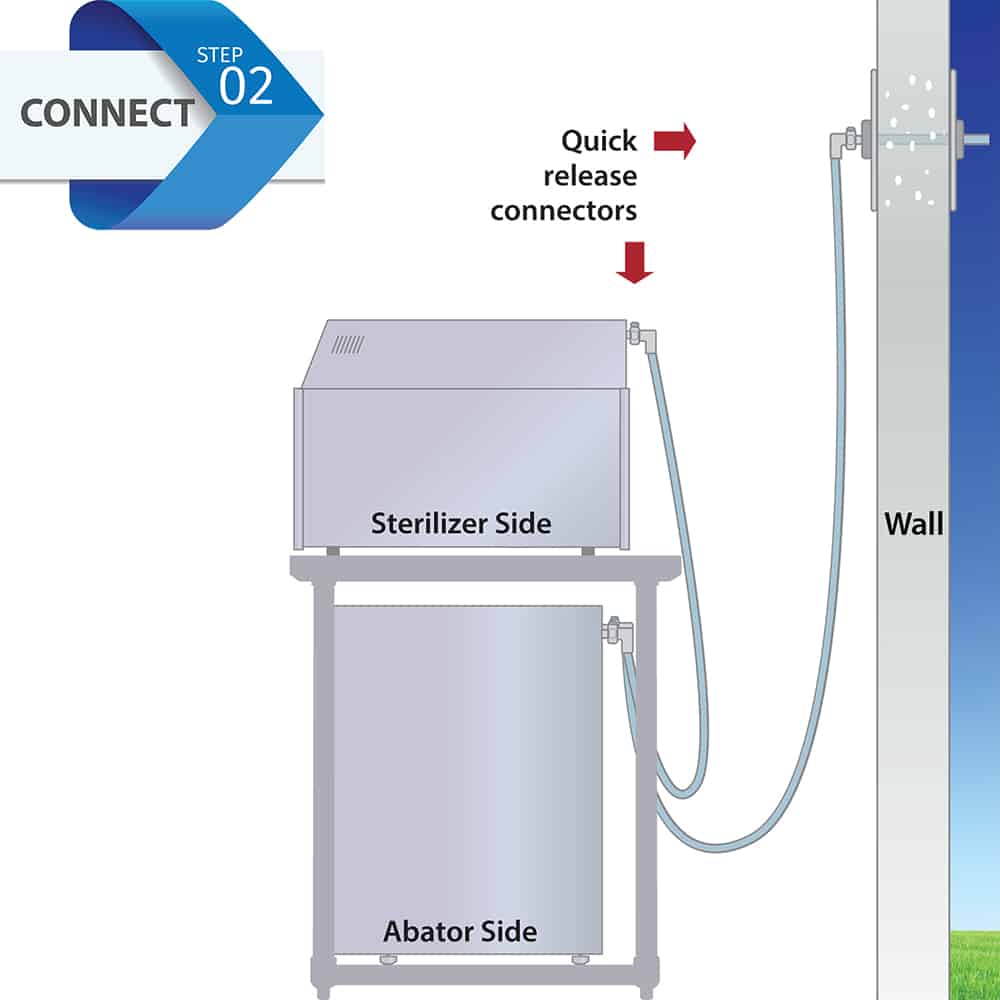
Connect the sterilizer to the vent.
This is literally a snap with our quick release connectors.
If you have one of our Zero Emissions abators, connect the sterilizer to the abator and the abator to the vent (like this).

Plug-in to a wall socket.
All machines can be ordered to accommodate either 230-volts or 120-volts, so you can just plug it into the wall. We recommend a dedicated receptacle.
Of course the other end goes into the back of the machine.
Now that your Andersen Sterilizer installation is complete, you’re ready to test and start sterilizing.
Andersen recommends you use AN94 Vapor-Trak Monitoring Badges upon installation, once a year and any time you move the sterilizer. Also, when you turn the machine on and push the start button, it will automatically do a self-check to make sure it is venting correctly.
It’s as easy as that! You’re all ready to connect with your Account Rep for operator training and to start sterilizing!
Expert Guidance for Your Needs
Tell us about your sterilization requirements — our experts are here to guide you to the perfect EO solution.